Add a New Tag (Server)
To add a new server-side tag, perform the following steps:
Select Tags from the left navigation panel.
Click Add Tag -> For Server on the top-right corner of the screen.

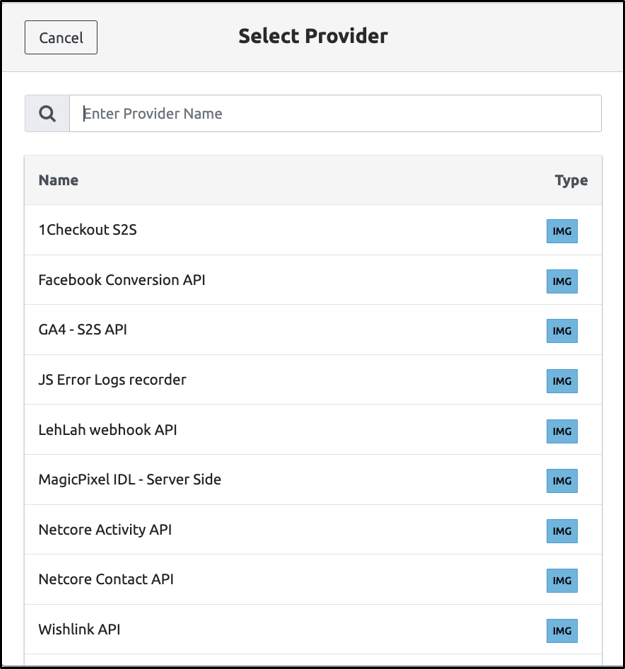
- Select the Provider Name or enter the Provider name from the list to proceed further.
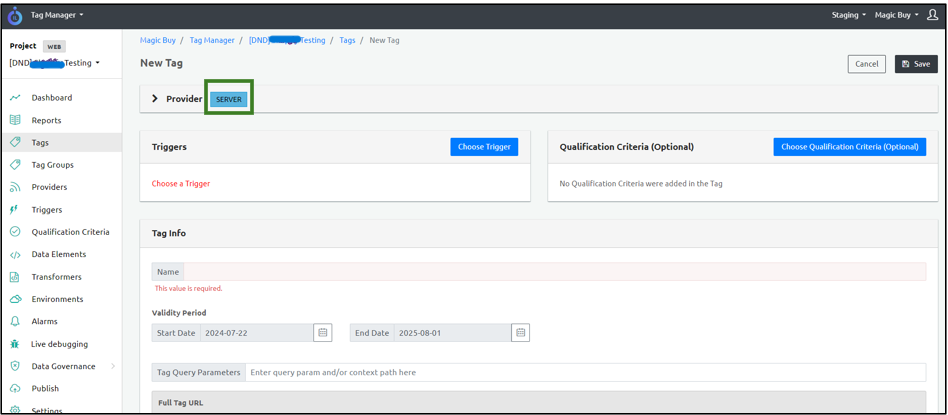
Step Result: The New tag screen appears.
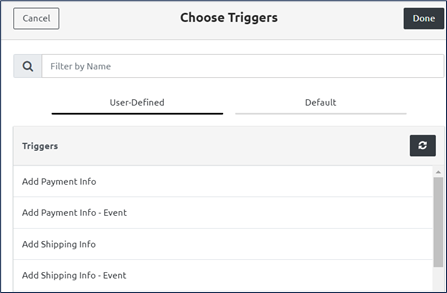
- Select Trigger.
You can select either the User-defined Triggers or Default triggers using this option and click Done.
Step Result: The tag is triggered for the respective trigger data.
Set Qualification Criteria
Qualification Criteria of a tag are conditions/triggers that inform Ingest Labs when to trigger a particular tag. You can add multiple Qualification Criteria and these criteria are layered.
Click Add Qualification Criteria.
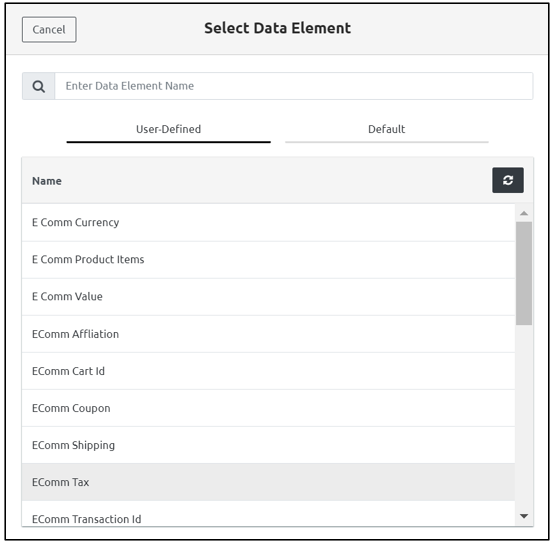
Select the Data Elements tab for the data elements to be set for the Qualification criteria.
Set Tag Info
This is the step where you set a name and validity period for the tag. The default validity period is one year for any new tag that is created and can be set to any desired date. To understand tag validity or expiry, see the section Set the Validity period and Tag Expiry.
Name: The Tag name.
Validity Period: Denotes the validity period of the tag including Start Date and End Date.
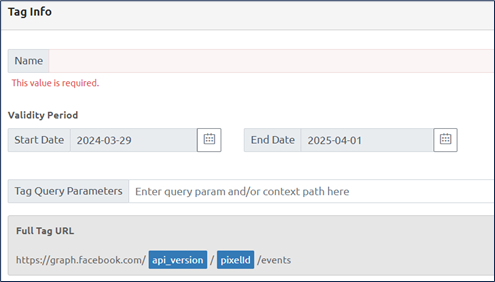
Set Validity and Tag Expiry
While creating a tag on Ingest Labs, you can set the validity period of a particular tag and define tag expiry. The default validity period is one year for any new tag that is created and can be set to any desired date. When the expiry date is closer, you will receive reminder e-mail notification about the expiry of the tag. If no action is taken, the tag stops triggering post the set validity period. You can find all expired tags in the “Paused State” in the Publish section and you can remove the expired tags to reduce the size of your SDK.
Set Tag Query Parameters
The Query parameters include the set of dynamic values that are included along with the Base URL while executing the query. These parameters appear in the Attributes section as well along with the values.

Set Provider Attributes
The Provider is a mandatory setting while adding a new tag. You can add any number of Provider attributes using the Key-Value pair and configure the settings using the Settings option. The user can view the providers attributes added from Provider side configuration.
For a particular Provider attribute, you must set the value either from the Data Elements or Transformers.

After selecting either from the Data Element or Transformer, the value appears in the Value column.

Add Attributes
- To add Attributes, select Add Attributes and set the following values.

Name: Set the Attribute name. For example: visitor_id, user_id, and so on.
Value: Set the value either for the Data Element or Transformer.
JSON: Enter the Attribute name and value, and configure the Settings.
- Mandatory - Denotes the value to be mandatory.
- Ignore If Empty - Ignore the field if empty.
- Hash (SHA256) - denotes the value in the HASH format.

Static: Denotes the static Value that is known.
Attribute Settings:
- Enter the Attribute Settings.
Tool-tip! Select the Mandatory check box to display the Fatal check box.
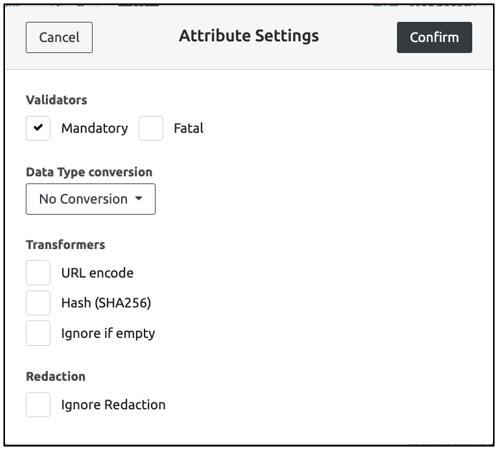
- Set the Data Type Conversion using the following options.
| Data Type Conversion | Description |
|---|---|
| No Conversion | Indicates that there is no conversion required for the data type. |
| Convert to Boolean | Converts the input data to Boolean. |
| Convert to Number | Converts the input data to Number. |
| Convert to Array | Converts the input data to Array. |
| Convert to Object Spread | Converts the JSON attributes under a parent level attribute to the root level attributes. |
- Select one the following Transformer types and click Confirm.
| Transformer Type | Description |
|---|---|
| URL encode | Converts the URL into the encrypted format. |
| HASH (SHA256) | The value is converted to HASH (SHA256) format. |
| Ignore if empty | May be ignored if the value is empty. |
- Select the Ignore Redaction checkbox to display the data elements. Redaction is a setting for each data element, which allows the server-side processing to apply the redaction strategy - like anonymize for email.
Step Result: The Provider Attribute is created.
To delete the Provider Attribute, select the Delete icon at the right-hand corner of the screen.
Set Tag Attributes
To add Tag Attributes, click Add Attribute.

Name: Set the Attribute name. For example: visitor_id, user_id, and so on.
Value: Set the value either for the Data Element or Transformer.
JSON: Enter the Attribute name and value, and configure the Settings.
Mandatory - Denotes the value to be mandatory.
Ignore If Empty - Ignore the field if empty.
Hash (SHA256) - denotes the value in the HASH format.
Static: Denotes the static Value that is known.

Attribute Settings:
- Enter the Attribute Settings.
Tool-tip! Select the Mandatory check box to display the Fatal check box.
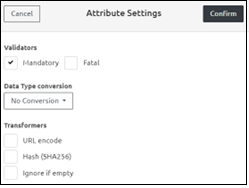
- Set the Data Type Conversion using the following options.
| Data Type Conversion | Description |
|---|---|
| No Conversion | Indicates that there is no conversion required for the data type. |
| Convert to Boolean | Converts the input data to Boolean. |
| Convert to Number | Converts the input data to Number. |
| Convert to Array | Converts the input data to Array. |
| Convert to Object Spread | Converts the JSON attributes under a parent level attribute to the root level attributes. |
- Select one of the following Transformer types and click Confirm.
| Transformer Type | Description |
|---|---|
| URL encode | Converts the URL into the encrypted format. |
| HASH (SHA256) | The value is converted to HASH (SHA256) format. |
| Ignore if empty | May be ignored if the value is empty. |
Step Result: The Tag Attribute is created.
- Enable Retry Configuration.

- Enable Delay Configuration.
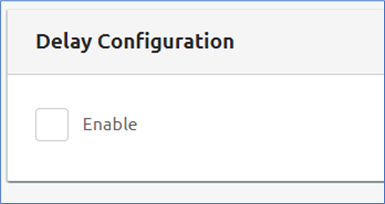
- Click Save to save the settings.
Step Result: The new tag is created.