Navigating Through UI
This section explains the different tabs available on the Ingest Labs UI screen.
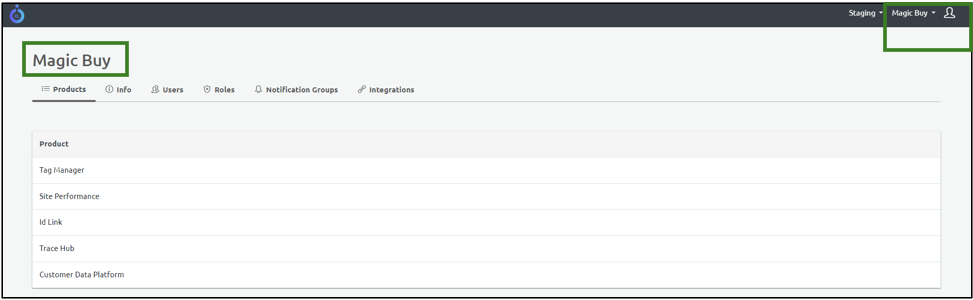
The landing page displays the vendor name and the username of the signed in customer. Click the user icon to edit the profile or logout of the app.
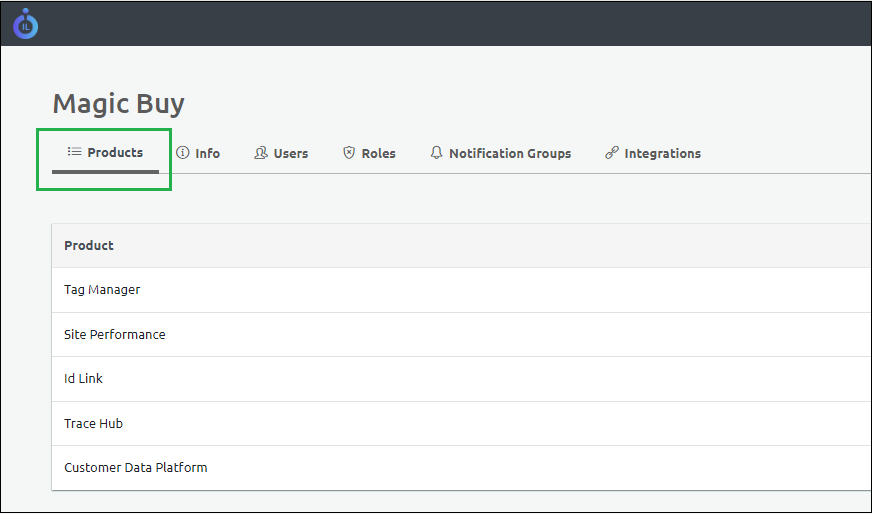
Products
The Products section includes the list of products available for a particular Ingest Labs project.
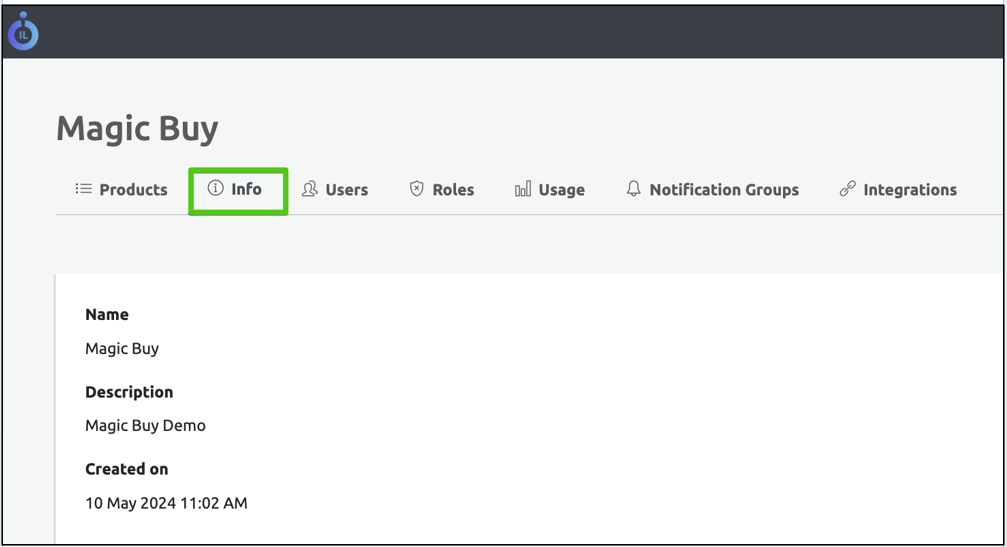
Info
The Info section displays the information related to the product.
Users
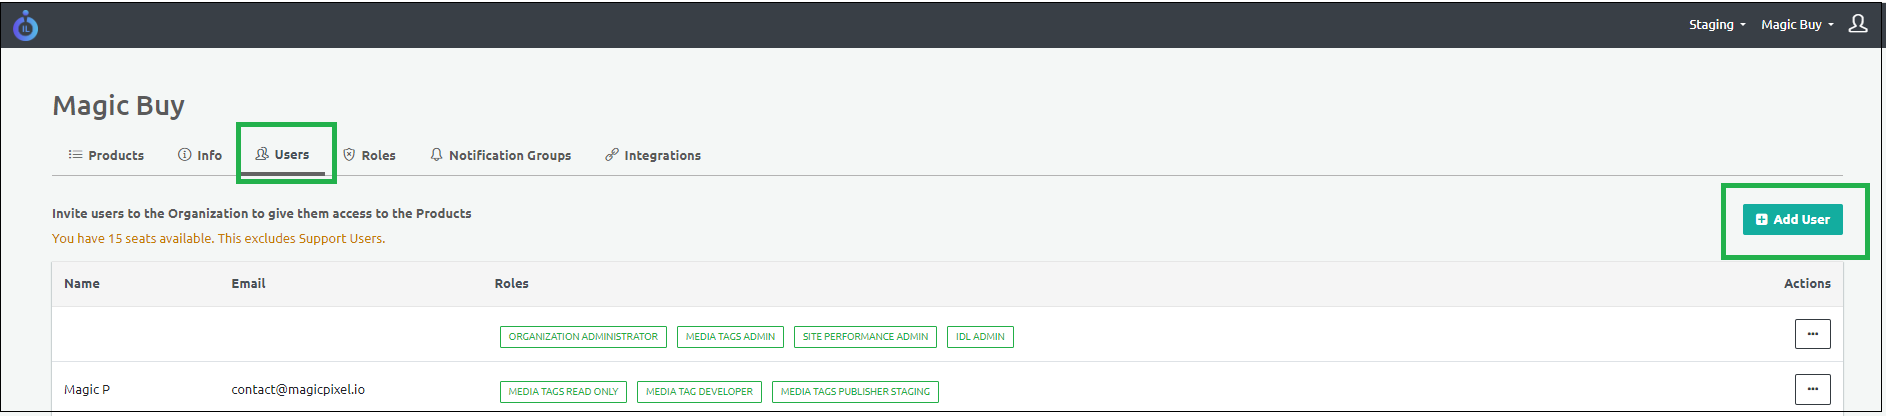
The Users section displays the number of users accessing the Ingest Labs product and the roles allocated for a particular user.
Add a New User
To add a new user, perform the following steps:
Click Users.
Click Add User on the top-right corner of the screen.
Enter the e-mail in the E-mail field.
Enter the Full Name in the Full Name field.
Enter the Last name in the Last Name field.
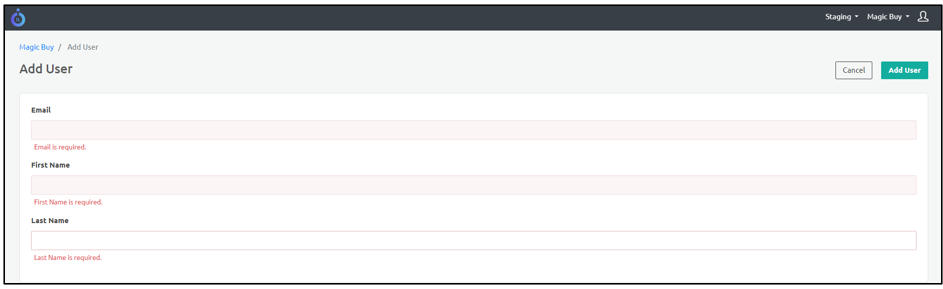
Note: Provide email ID, first name and last name to add a user. If any field is left blank, the screen displays a warning.
Step Result: Once you add a user, the user receives an e-mail notification to activate the account.
Note: If the user cannot activate and reset the password, the admin may select the Re-invite User option to trigger the e-mail notification again.
Delete User
You can delete a user using the delete icon to the right of the user.

To delete a user, perform the following steps:
Navigate to Users section.
Select the user and click the three dots to the right of the user.
Click Delete.
Click Yes on the confirmatory message.
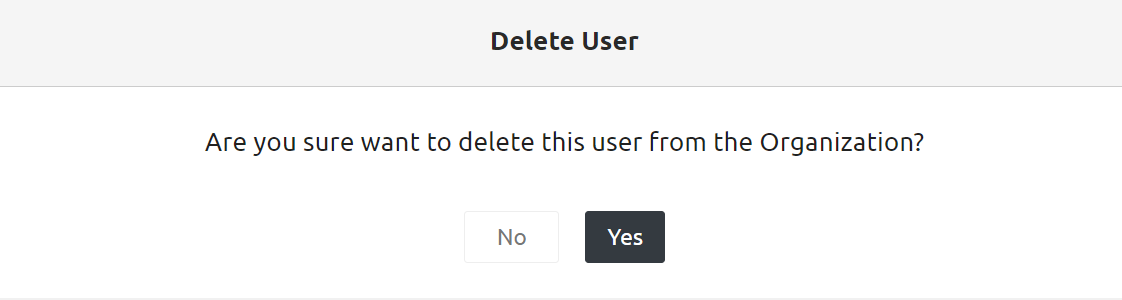
- You will receive a success message after the user is deleted.

Clear Cache
Delete the user cache using the clear cache option to the right of the user. User roles are cached for a short duration on the backend server to facilitate Role-Based Access Control (RBAC). When a user's role changes, delete the user's roles and permissions from the cache using the Clear Cache feature. This ensures that the updated roles and permissions take effect immediately.
To clear the cache of a particular user, perform the following steps:
Navigate to Users section.
Select the user and click the three dots to the right of the user.
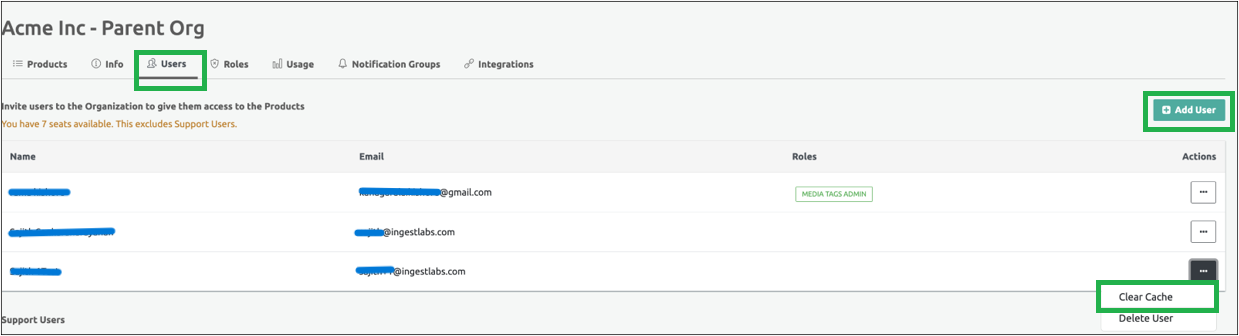
- Click Clear Cache.
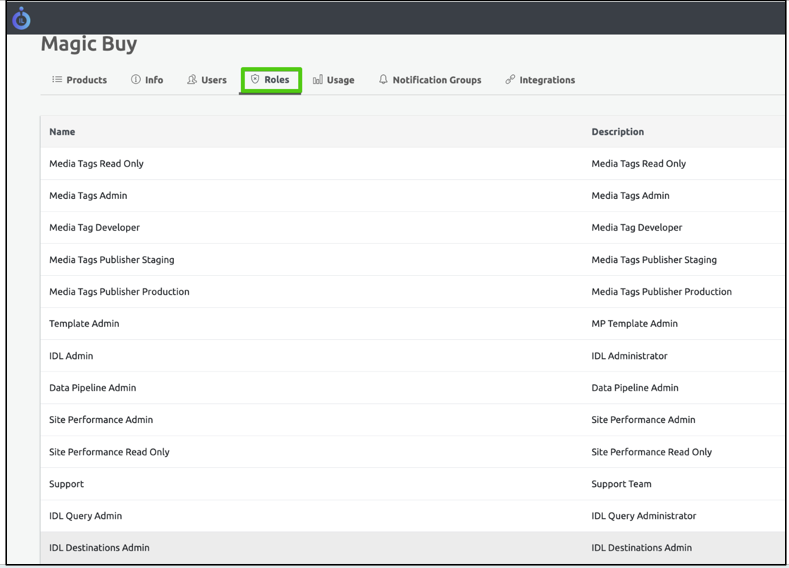
Roles
The Roles section displays the multiple roles assigned to the particular user.
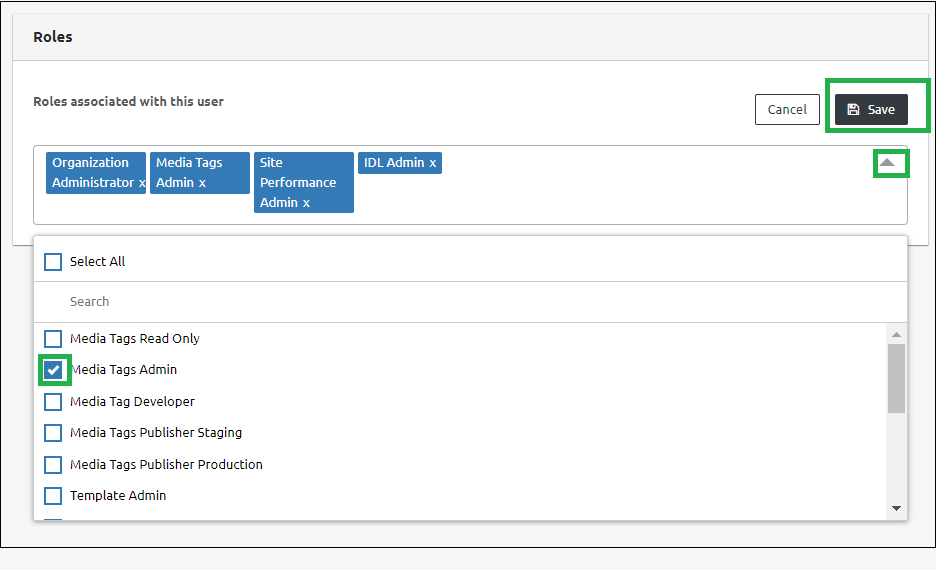
Assign the Roles
Following are the steps to assign the roles to the user:
Using Users Section
Navigate to the Users section on the top.
Select the respective user and click Edit.
Select the roles for the user from the drop-down list.
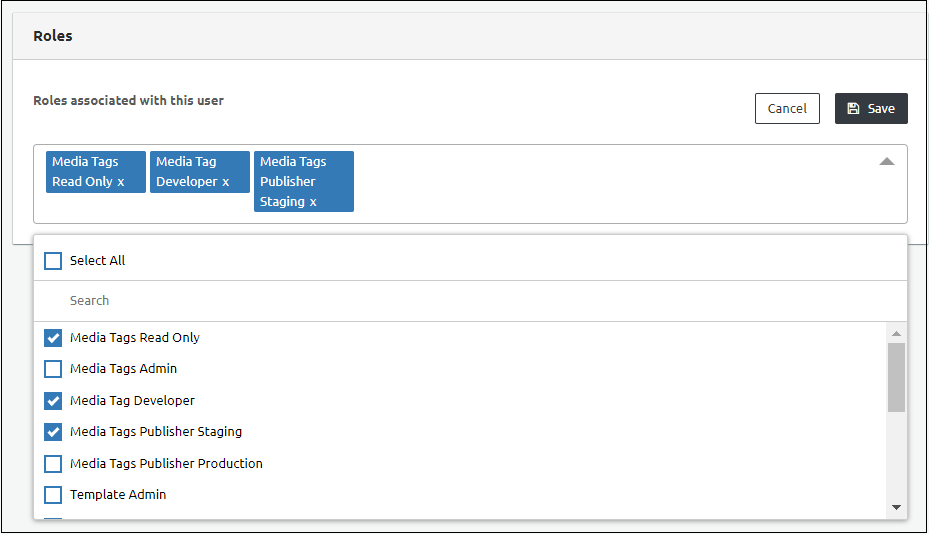
- Click Save.
Note: You will receive an e-mail notification for any edits or modifications.
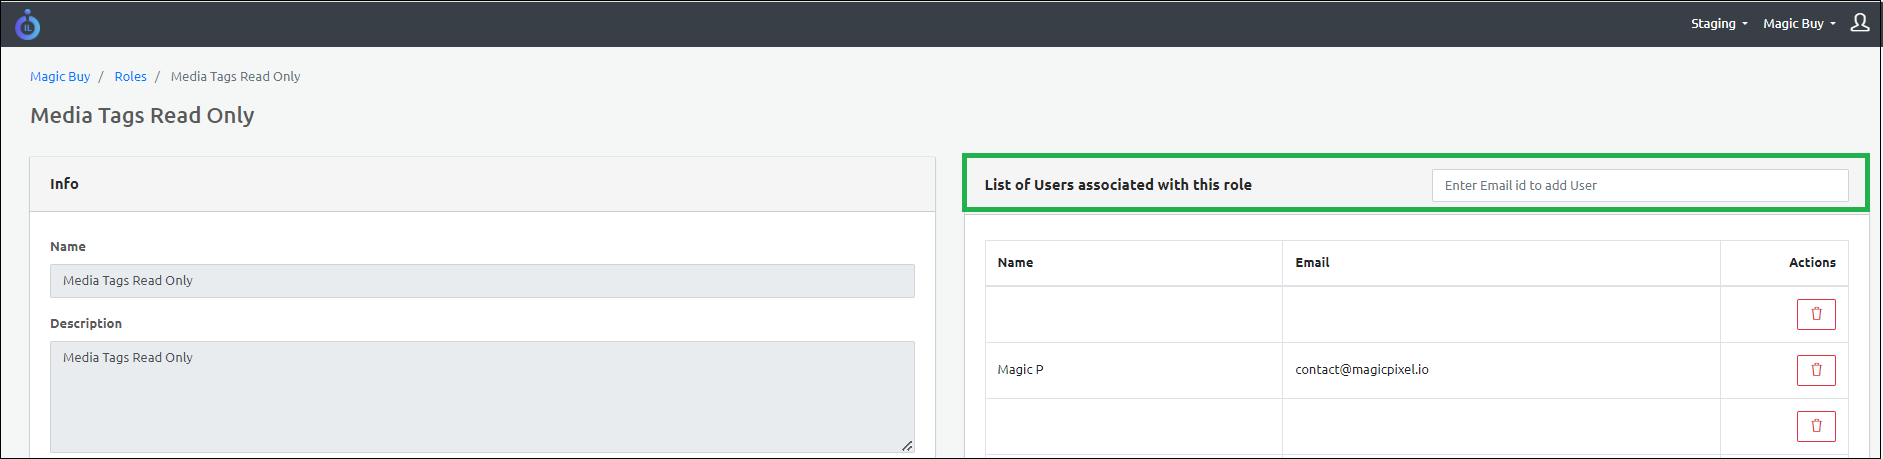
Using the Roles Section
Navigate to the Roles section on the top.
Select the role to edit.
Under the List of Users associated with this role, enter the user's e-mail ID.
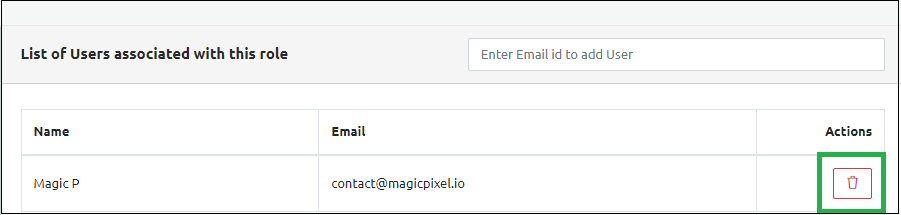
Delete the Roles
You can delete the roles using the Delete icon at the right-hand corner of the screen.
To delete the roles in the User section, perform the following steps:
Navigate to Users section.
Select the user and click Edit on the top right corner of the screen.
You must clear the roles of a particular user and click Save.
Usage
The Usage option includes the real-time metrics and the data collected based on the number of days. By default, the data for the last seven days appears. However, you can modify the number of days to view the metrics for a particular category.
To view the usage details, select Product -> Project -> Category.
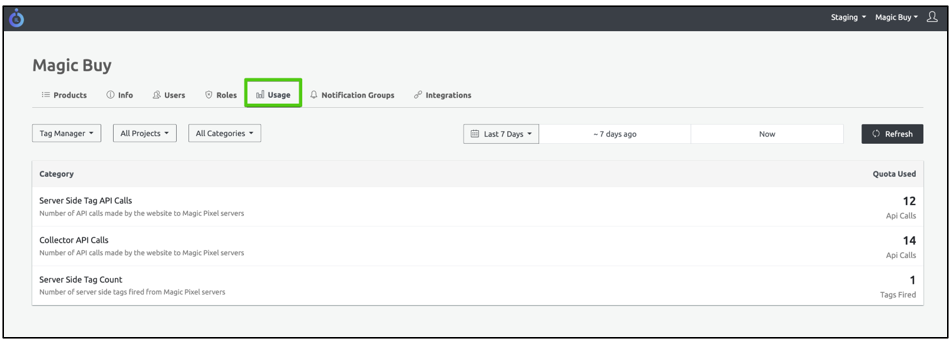
Note: The Projects option is available only in Tag Manager. By default, All Projects is selected under Products tab.
If there is no data available, then the following message appears: “Metrics data is currently unavailable.”
The following are the default user options:
| User Options | Description |
|---|---|
| Tag Manager | In Tag Manager, SDK enables the client website to trigger API calls to Ingest Labs. In the Usage option, the Tag Manager includes metrics that are collected in real-time during the server-side API calls. |
| All Projects | Select a specific project to collect the metrics using the All Projects drop-down. |
| All Categories | Includes the following categories to collect the metrics: • Collector API Calls • Server-Side Tag Count • Server-Side Tag API Calls • Collector Bot Traffic |
You can view the following details with the usage in each category:
| Category | Description |
|---|---|
| Collector API Calls | Denotes the number of Collector API calls from the website to Ingest Labs servers. |
| Server-Side Tag Count | Denotes the number of Server-side tags triggered from Ingest Labs servers. |
| Server-Side Tag API Calls | Denotes the number of Server-side API calls from the website to Ingest Labs servers. |
| Collector Bot Traffic | Denotes the number of API calls that Ingest Labs servers detect as bot traffic. |
The same categories are listed under the All Categories drop-down for a detailed view of the metrics. For example, to view the Collector API calls from the previous week, click Collector API Calls from the All Categories drop-down and select Last One Week. To view the graphical representation for the last month, select Last One Month and click Refresh.
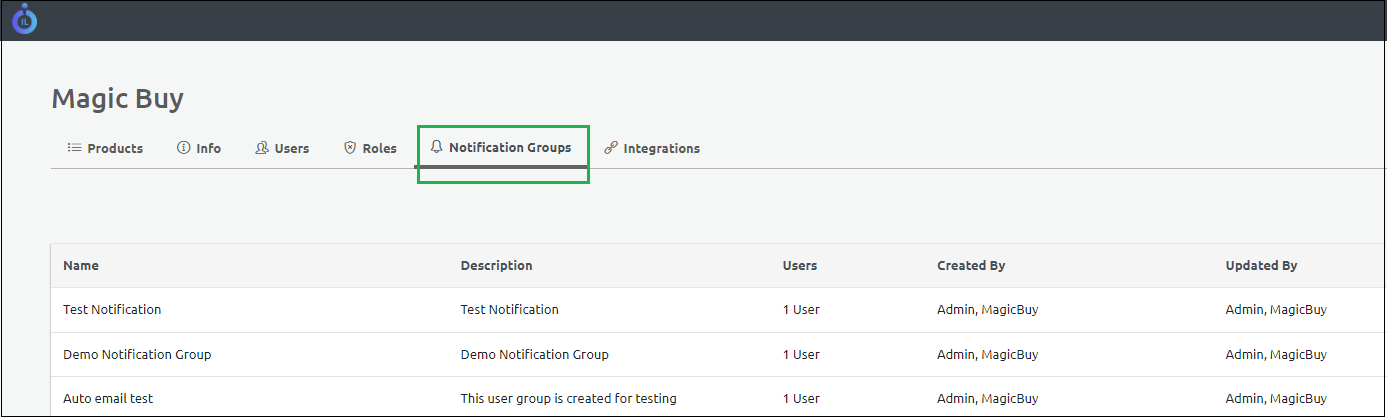
Notifications
The Notifications option displays the notifications triggered for a particular user. You can add any number of e-mail IDs for a Notification Group. The Notifications are triggered at the client level for alarms and other products.
Note: While creating alarms, you can set a notification group e-mail for each alarm. The two types of alarms that are triggered under Tag Manager are:
• Tag Anomaly Detection Alarm
• Tag Expiration Alarm
To add a new notification group, perform the following steps:
- Click Add Notification Group on the top-right corner of the screen.
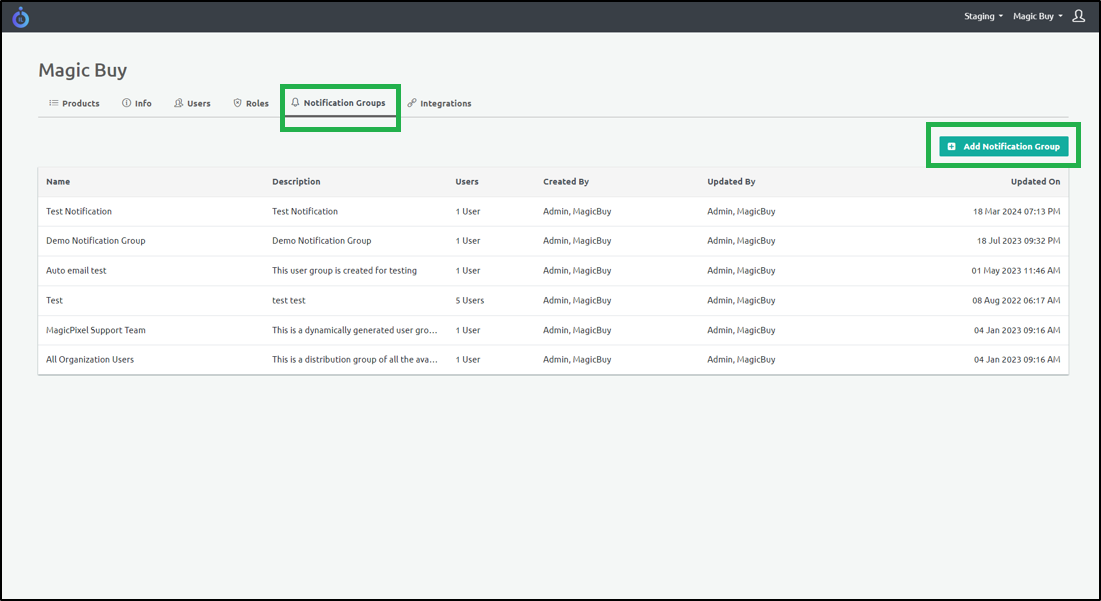
In the Info screen, add the Name in the Name field.
Enter the Description.
Enter the e-mail ID in the Add New User field under the Destinations section.

- Click Save.
Step Result: The new notification is added.
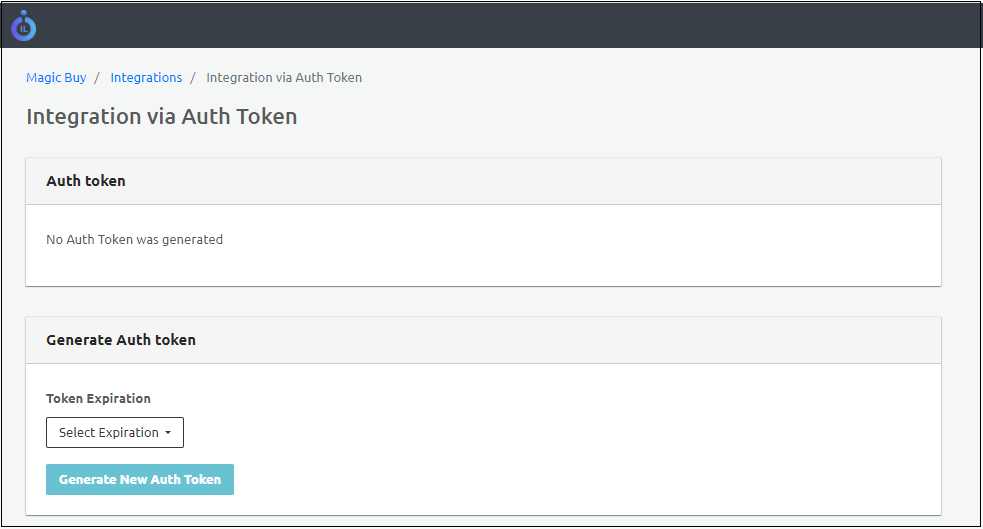
Integrations
The Integrations section describes the third-party integrations using the Authorization token. You can set the token expiry to 1 hour, 12 hours, and 72 hours accordingly.