Edit Pipeline Destinations
After creating a pipeline, you can edit the Destinations to define the external destinations for exporting the data. You can select more than one destination.
Perform the following steps to edit the Destination:
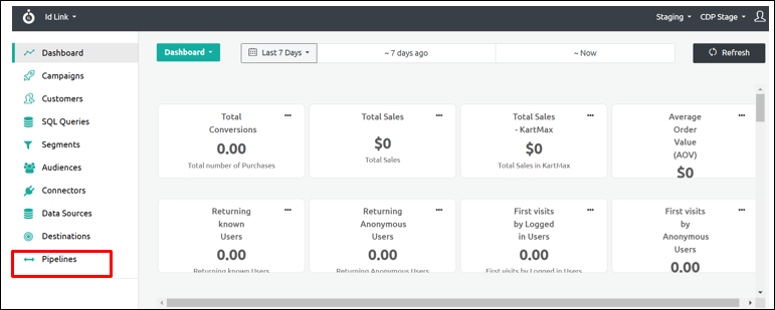
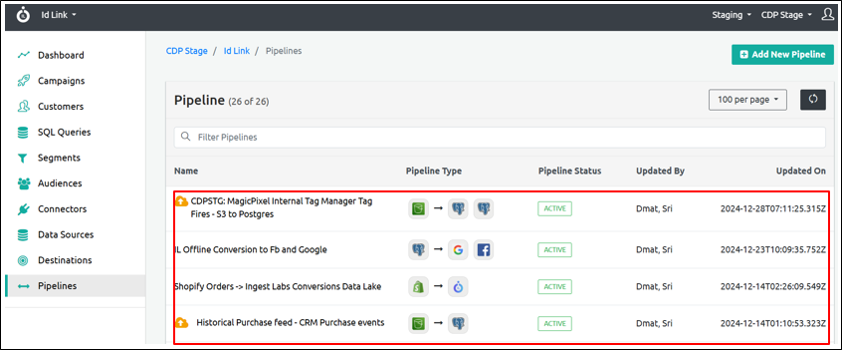
Step 1: From the left navigation panel, select Pipelines.
Step 2: Click the pipeline you want to edit.
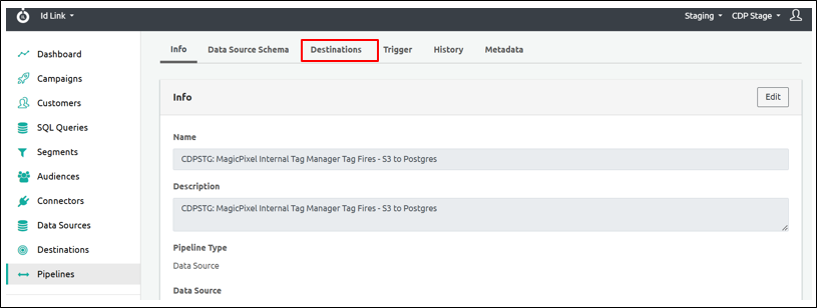
Step 3: Click the Destinations tab.
Step 4: Click Add Destination.

Note: You can add any number of Destinations in this field.
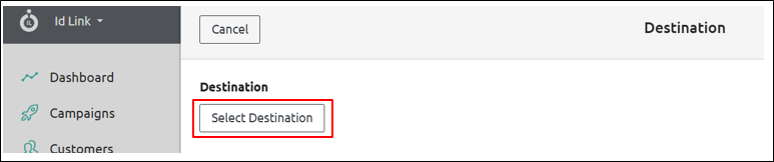
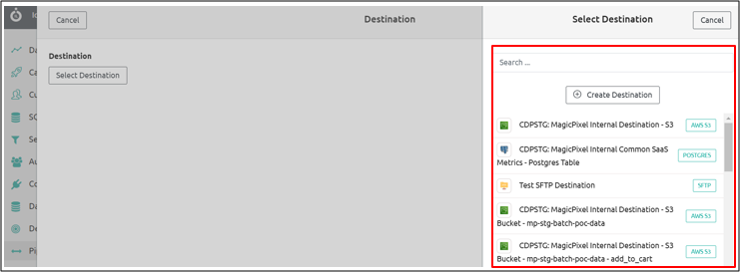
Step 5: When you click Add Destination, the Destination panel will open on the right. Click Select Destination to choose the appropriate option.
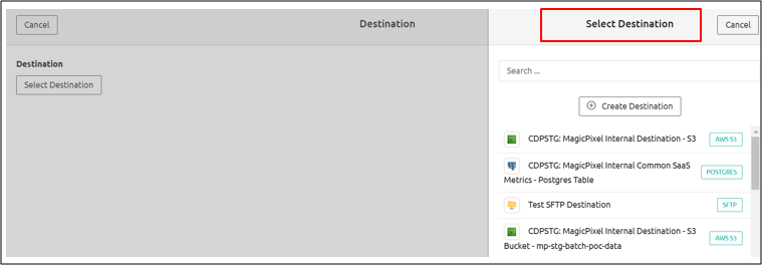
Step 6: Select a suitable destination from the Select Destination dropdown menu.
Step 7: Schema Fields
Step 7.1: Complete the required information in the Schema Fields section.
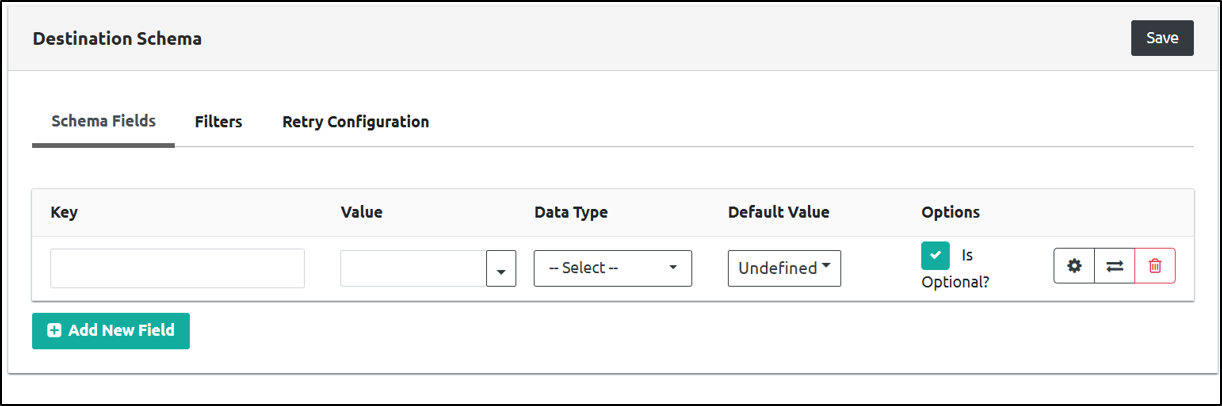
| Item Name | Description |
|---|---|
| Key | Denotes the column name of the schema field for exporting data. Create a key to denote a category like browser, campaign ID, and number of conversions. |
| Value | Select the value of the data source schema: Source Field, Function, JSON Path, URL Param. |
| Data Type | Select the data type for exporting data: Number, String, Boolean, Date, Json, Json(withno schema). |
| Default Value | Select from the following default values: Empty String, Undefined, Null, Custom Value. |
Step 7.2: The Optional checkbox is selected by default. Unselect the checkbox to make it a mandatory schema field.
Note: The settings, transformation or delete functions are similar to the functions in edit a Data Source.
Step 7.3: Click Save at the top right of the screen.
Step 7.4: A confirmation popup will appear: Destination was added successfully to the pipeline.
Note 1: You can add any number of transformations in the Destinations field.
Note 2: To update a transformation, click the settings icon next to it.
Note 3: To delete a transformation, click the delete icon next to the transformation function.
Step 8: Filters
Step 8.1: When you select the Enable Filter checkbox, the Function tab becomes available.
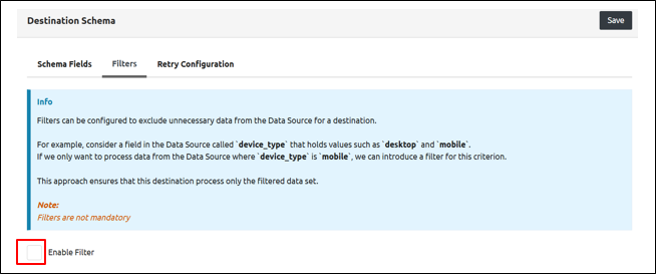
Step 8.2: In the Function field, under the Type dropdown, the following options are available:
Pre-Defined Function
Custom Function
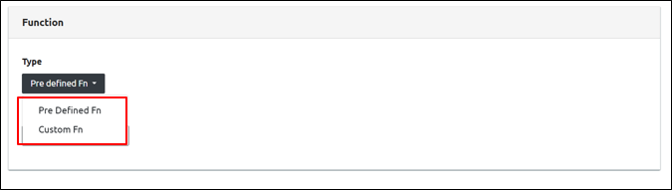
Step 8.3: Click Pre-Defined Function.
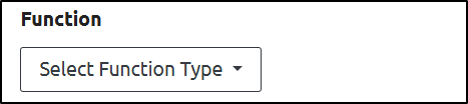
Step 8.4: Click the Function field dropdown and choose the appropriate function type.
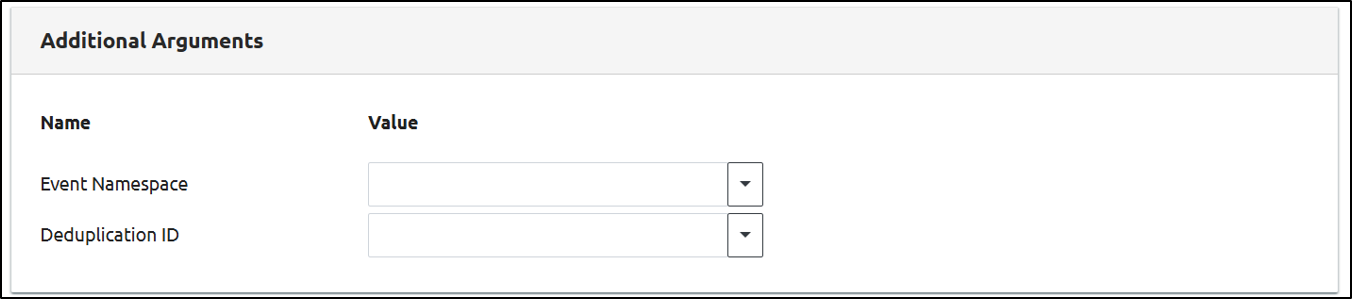
Step 8.5: When you select a function type, the Additional Arguments section appears with two fields:
Name
Value
Step 8.6: For Event Namespace, click the dropdown and select the appropriate value.
Step 8.7: For Deduplication ID, click the dropdown and select the appropriate value.
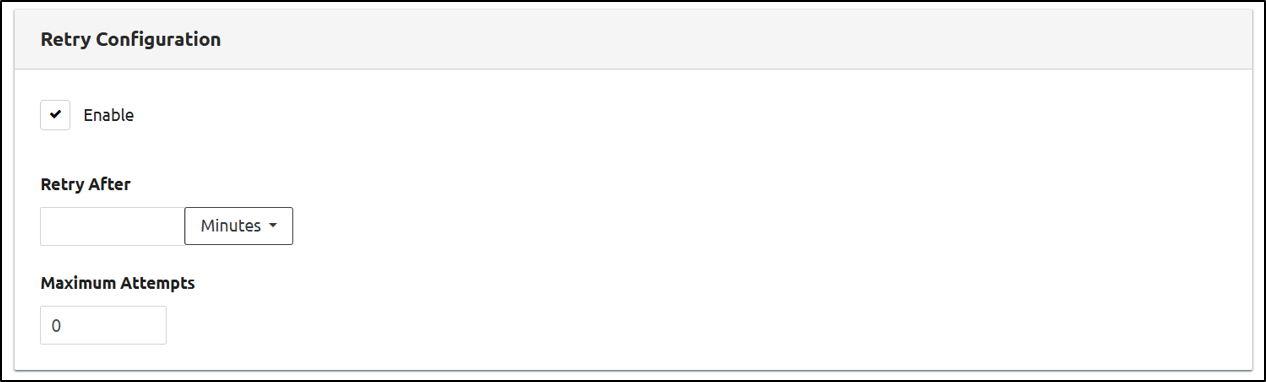
Step 9: Retry Configuration.
Step 9.1: The Enable checkbox is already selected by default.
Under the Retry After field dropdown, you can choose from the following options:
Seconds
Minutes
Hours
Click to select the appropriate option.
Step 9.2: Use the up and down arrows in the Maximum Attempts field to set the desired value.
Step 9.3: Click the Save button to save your changes.