Add a New Destination
To add a new Destination, follow these steps:
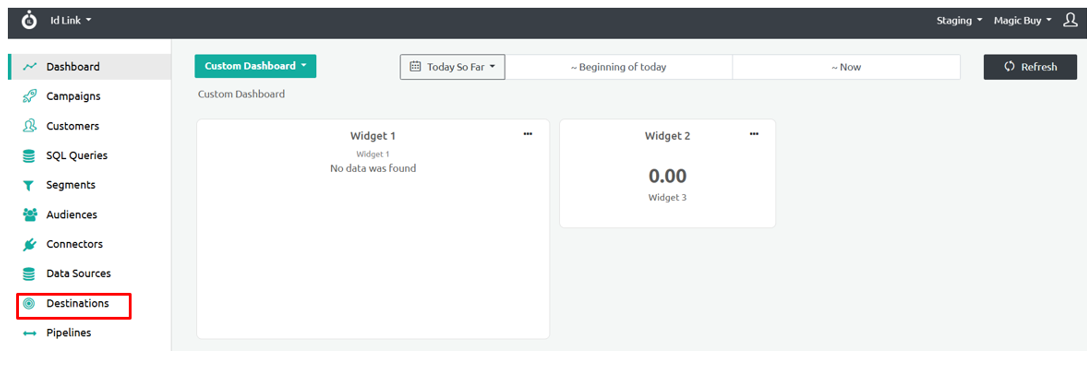
Step 1: In the left navigation panel, click Destination.
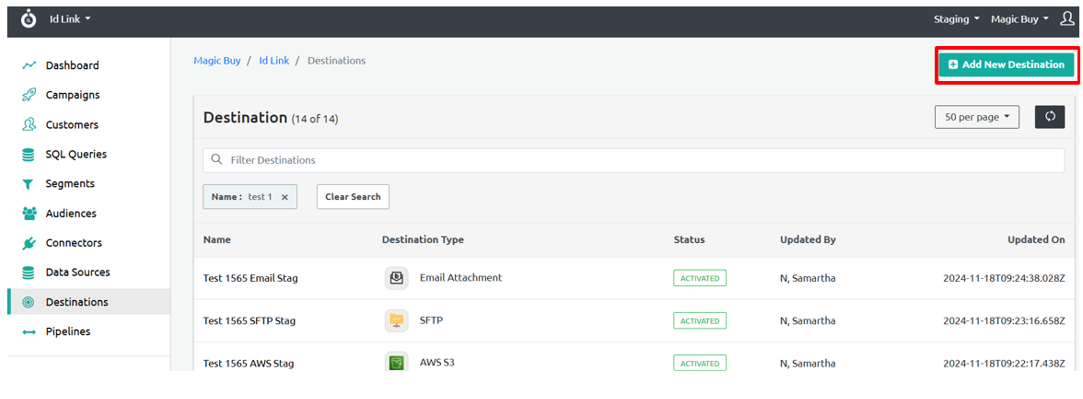
Step 2: Select Add New Destination located at the top-right corner of the screen.
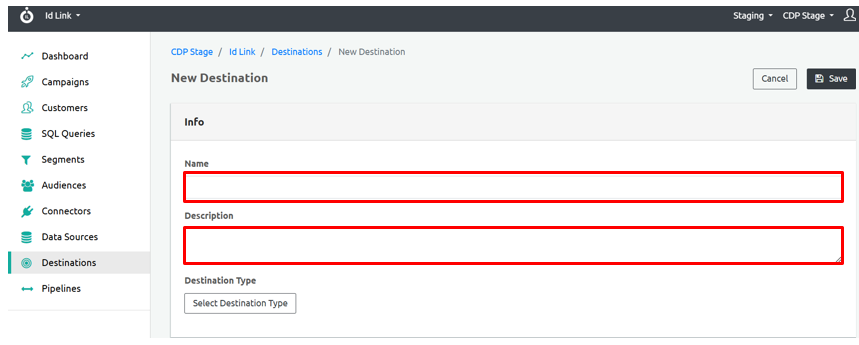
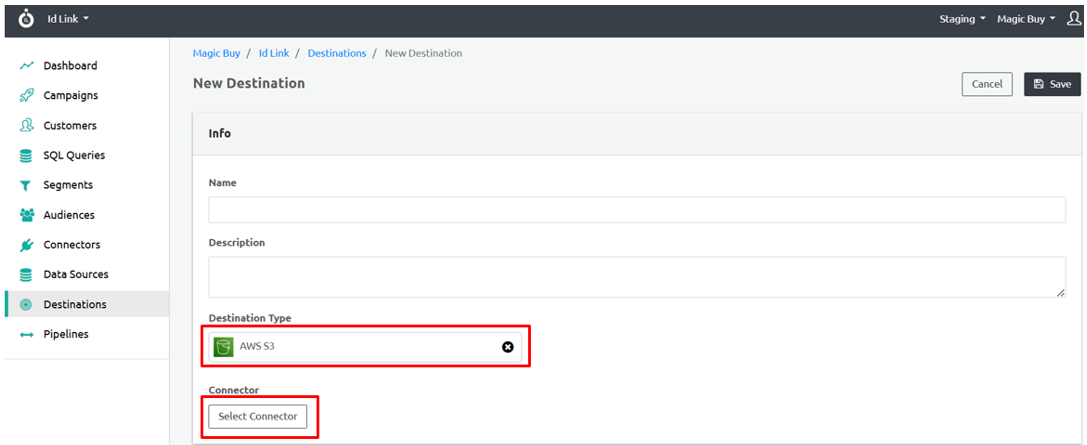
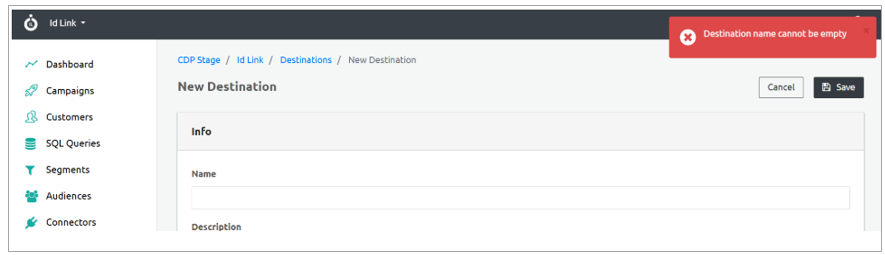
Step 3: In the Name field, enter the name of the destination.
Step 4: In the Description field, enter a brief description of the destination.
Step 5: Under the Destination Type section, click Select Destination Type to choose the appropriate option.
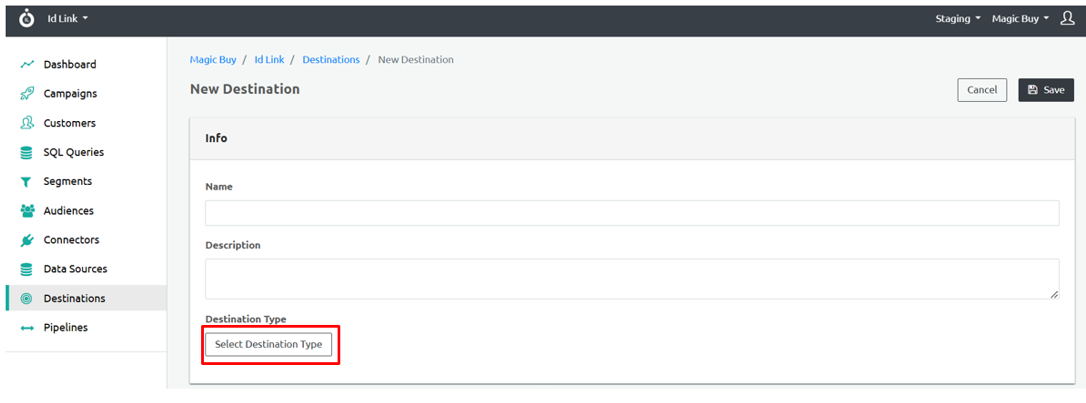
This will open a list of available destination types on the right-hand side. Select the appropriate destination type for your needs. The available options include:
- Cloud Storage
- File Storage
- Database

Overview of Destination Types
Cloud Storage
AWS S3 acts as a connector by enabling seamless data transfer and integration with various applications, allowing users to store and retrieve data directly from S3 buckets.
 Click AWS S3.
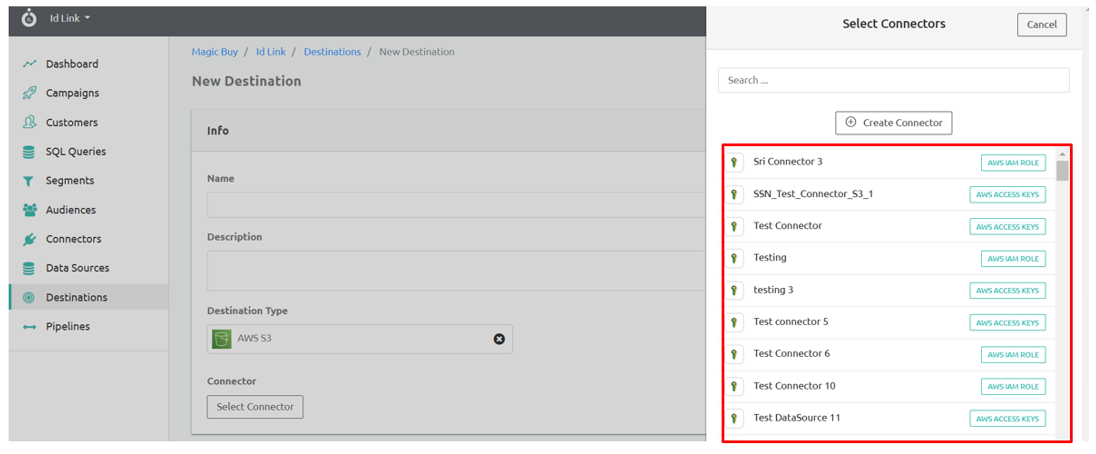
Click on Select Connector under the Connector section to choose the appropriate connector.
This will open a list of available connectors on the right-hand side. Select the connector or click Create Connector to create a new one.
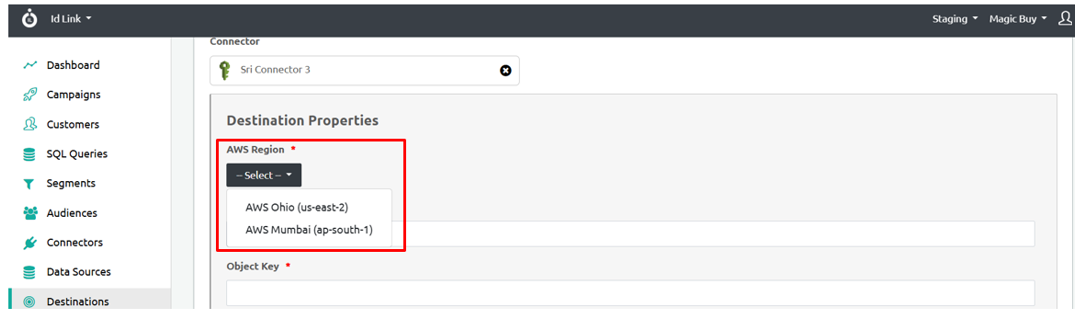
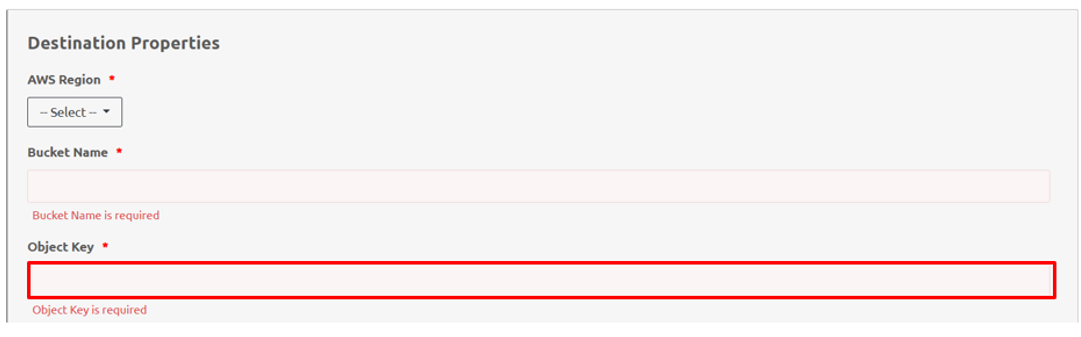
Destination Properties
AWS Region: Denotes the destination region. Under the AWS Region section, click the Select dropdown to choose the appropriate region.
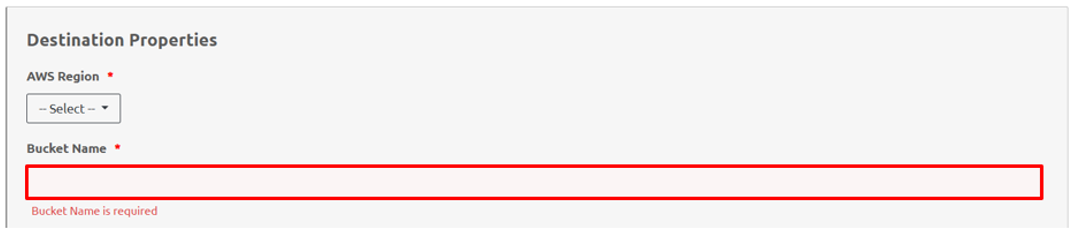
Bucket Name: Denotes the name of the Destination Bucket.
Note: Fields marked with an asterisk (*) are mandatory.
Object Key: Refers to the unique identifier for the object in the destination, which is provided by the client.
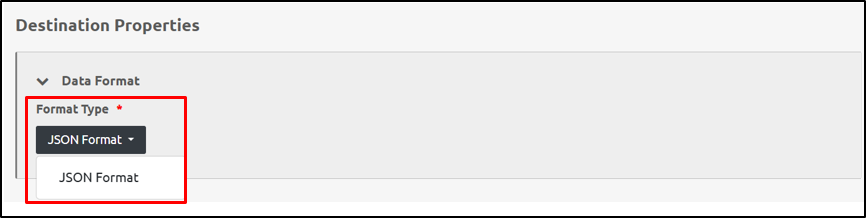
Data Format
Under the Data Format section, click the Select dropdown to choose the appropriate format type.

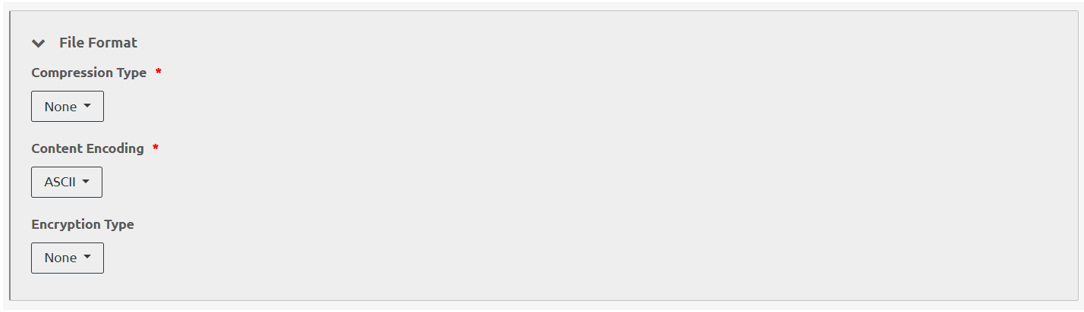
File Format
Compression Type: Select the compression format to be uploaded to the destination.
Content Encoding: Select the content encoding from this dropdown menu.
Encryption Type: Select the encryption type to encrypt the data. Add the Encryption Key.
Note: Select 'None' if no encryption required.
Click Save to save the Destination details.
Note: If mandatory fields are not entered, an error message will be displayed.
File Storage
SFTP connectors enable secure file transfers between external SFTP servers and AWS storage services.
 Click SFTP.
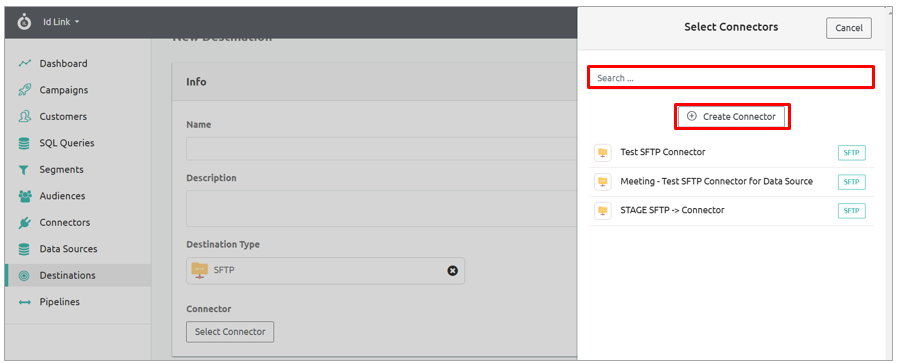
Click on Select Connector under the Connector section to choose the appropriate connector.
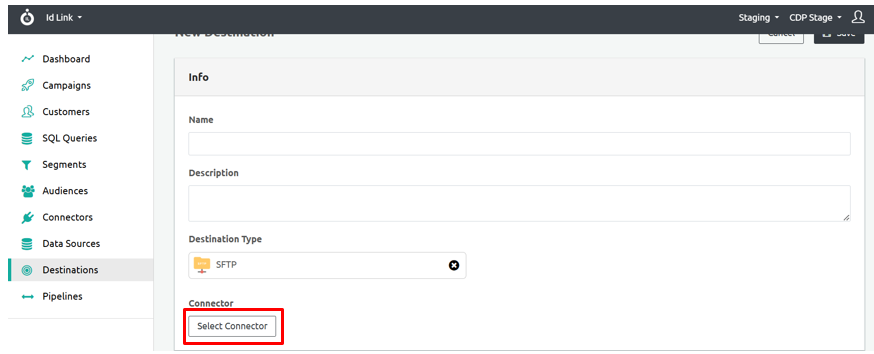
When you click the Select Connector tab, the panel opens on the right side. Click the Search bar to search for a connector or click Create Connector to create a new one.
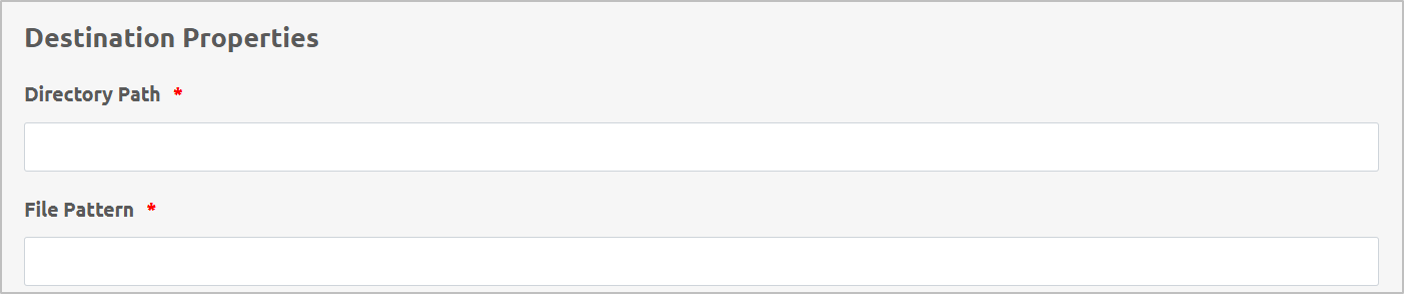
Destination Properties
Click Directory Path and enter the appropriate directory path to the destination.
Click File Pattern and provide the appropriate file pattern for the destination.
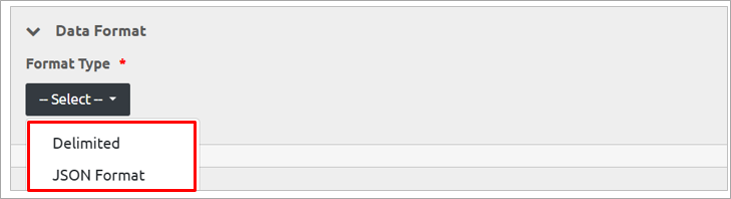
Under the Data Format section, click the Select dropdown under Format Type.
Two options will be displayed:
Delimited
JSON Format
Choose the appropriate option.
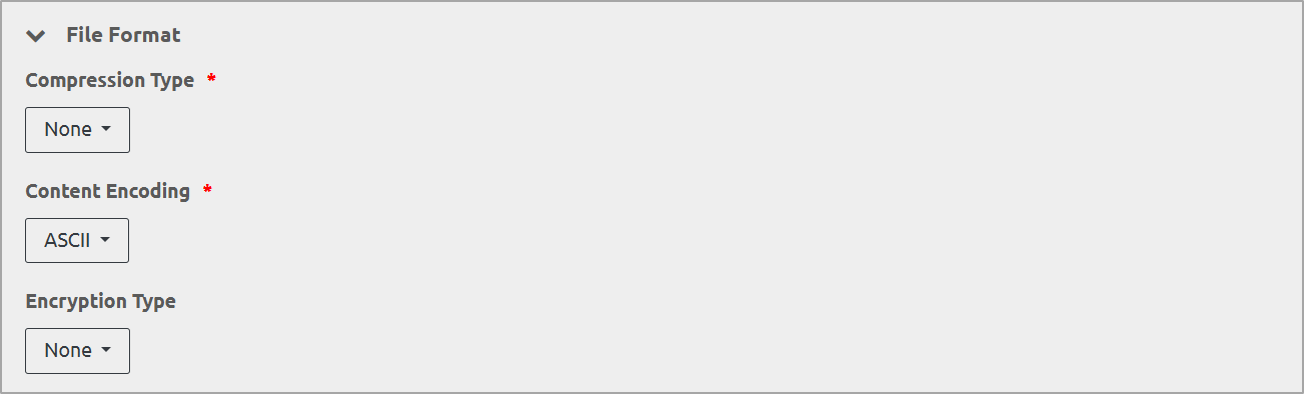
File Format
Compression Type: Select the compression format to be uploaded to the destination.
Content Encoding: Select the content encoding from this dropdown menu.
Encryption Type: Select the encryption type to encrypt the data. Add the Encryption Key.
Click Save to save the Destination details.
Database
 Click Postgres.
When you click the Select Connector tab, the panel opens on the right side. Click the Search bar to search for a connector or click Create Connector to create a new one.
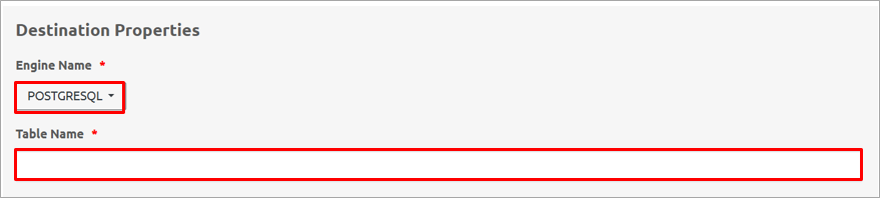
Destination Properties
Click Engine Name dropdown to select the appropriate option.
Click the Table Name section to enter the appropriate name.
Click Save to save the Destination details.
 Ingest Labs - Offline Conversions
When you click the Select Connector tab, the panel opens on the right side. Click the Search bar to search for a connector or click Create Connector** to create a new one.
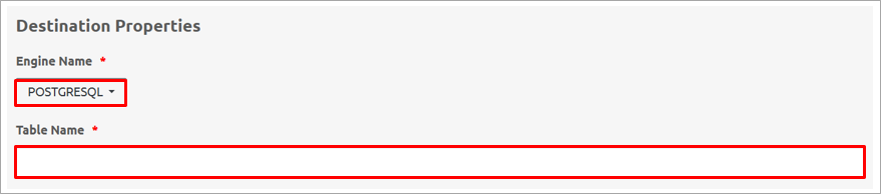
Destination Properties
Click Engine Name dropdown to select the appropriate option.
Click the Table Name section to enter the appropriate name.
Click Save to save the Destination details.
 Facebook Audience
When you click the Select Connector tab, the panel opens on the right side. Click the Search bar to search for a connector or click Create Connector to create a new one.
Destination Properties
Click the Audience ID section to provide the appropriate ID.

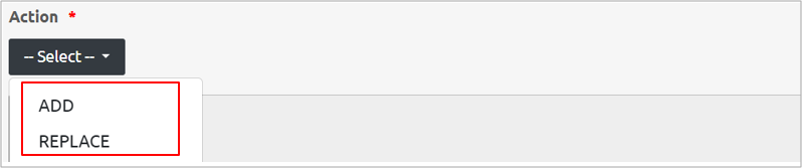
Under the Action section, click the Select dropdown.The following options will be displayed:
Add
Replace
Select the appropriate option.
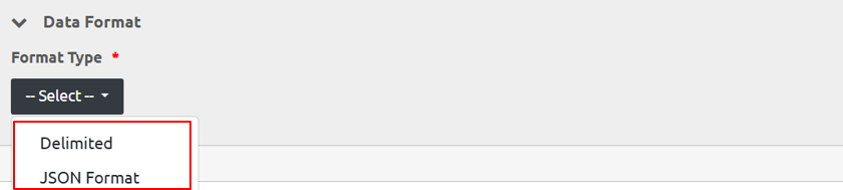
Under the Data Format section, click the Select dropdown under Format Type.
Two options will be displayed:
Delimited
JSON Format
Choose the appropriate option.
Facebook Conversion API
When you click the Select Connector tab, the panel opens on the right side. Click the Search bar to search for a connector or click Create Connector to create a new one.
Destination Properties
Click the API Version field and enter the appropriate version.
Under Data Format, click the Format Type dropdown and select the appropriate option.
 Email Attachment
When you click the Select Connector tab, the panel opens on the right side. Click the Search bar to search for a connector or click Create Connector to create a new one.
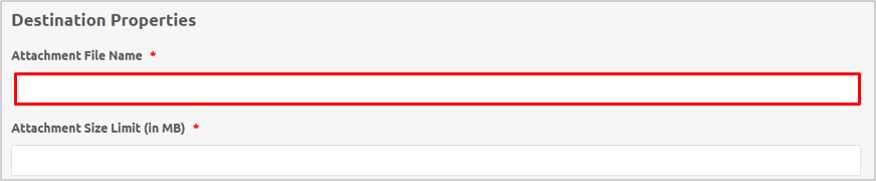
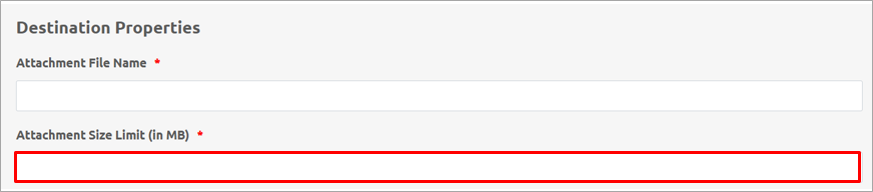
Destination Properties
Click the Attachment File Name field and enter the appropriate name.
Click the Attachment Size Limit (in MB) field and enter the appropriate limit.
Click the Email IDs dropdown. When the Add button is displayed, click the Add button.

Click the Email ID section to add the appropriate email address.

Click the Display Name section to add the appropriate name.

Click the Add More button to add additional email IDs and names.

Click the Email Subject dropdown and select the appropriate subject.

Click the Content section to provide the appropriate content.

Click the Body section dropdown to select the appropriate option.
Under Content Type, click the Select dropdown. The following options will be displayed:
- HTML
- Plain Text

Click the Placeholders dropdown and select the appropriate placeholder.

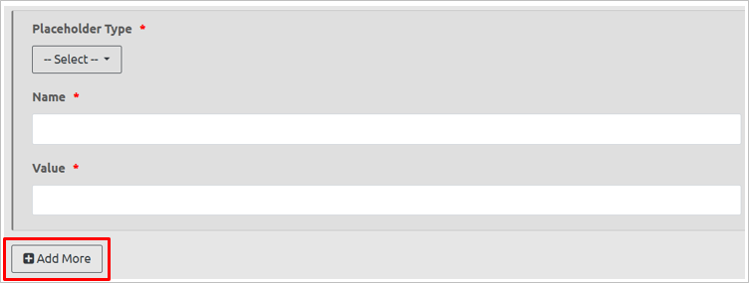
Under the Placeholder Type section, click the Select dropdown. The following two options will be displayed:
STRING
DATE

Click the Name field to enter the appropriate name.

Click the Value field to enter the appropriate value.

Click the Add More button to add more placeholders.
Click the Data Format dropdown and select the appropriate format.

Under the Format Type section, click the Select dropdown. The following options will be displayed:
Delimited
JSON Format

Click the File Format dropdown and select the appropriate file format.
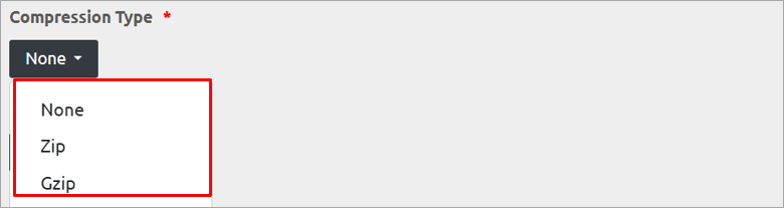
Under the Compression Type section, click the dropdown. The following options will be displayed:
None
Zip
Gzip
Under the Content Encoding section, click the dropdown. The following options will be displayed:
UTF-8
ASCII

Under the Encryption Type section, click the dropdown. The following options will be displayed:
None
PGP

Click Save to save the Destination details.
 Click GA4 Measurement Protocol.
When you click the Select Connector tab, the panel opens on the right side. Click the Search bar to search for a connector or click Create Connector to create a new one.
Destination Properties
Under Data Format, click the Format Type dropdown to select the appropriate format for your data export.
Click Save to save the Destination details.